Hey everyone, If you’ve followed my tech journey, you know I love keeping my systems clean, portable, and efficient. One thing that transformed how I handle my configurations across machines is properly managing dotfiles. I’ve streamlined my setup using GNU Stow, and I want you to do the same—it’s a game-changer for productivity. Let me walk you through it step by step, based on what I’ve done on my Linux boxes and Mac.
Table of Contents
What Are Dotfiles and Why Do They Matter?
I start with the basics because I remember when I first dove into this. Dotfiles are those hidden configuration files in your home directory that begin with a dot, like .bashrc, .vimrc, or .gitconfig. They customize your shell, editors, tools, and even window managers. Think of them as the DNA of your computing environment—they control everything from your terminal colors to keyboard shortcuts.
I use dotfiles to make my setup consistent across devices. When I switch from my Ubuntu laptop to my Rocky Linux server or even my macOS machine, I don’t waste time reconfiguring. These files ensure my tools behave exactly how I want. Without proper management, they clutter your home directory, get lost in backups, or conflict when you experiment. Trust me, I’ve messed up configs before, and it led to hours of debugging. You should organize yours now to avoid that headache.
Open-Source Tools for Managing Dotfiles on Linux and macOS
I’ve tried several tools over the years, but I always come back to ones that are simple, flexible, and cross-platform. Popular open-source options include:
- Chezmoi: I like how it handles templates and secrets, great if you deal with sensitive data.
- YADM (Yet Another Dotfiles Manager): This one builds on Git, so if you’re Git-savvy, it’s straightforward.
- Dotbot: A minimal script-based tool that I used for quick setups.
But my favorite? GNU Stow. I pick it because it’s lightweight, uses symlinks to keep things organized, and works seamlessly on both Linux and macOS without fancy dependencies. It treats your dotfiles like packages, “installing” them into your home directory. I’ve managed hundreds of configs with it, and it never fails. You should try Stow first—it’s been around since 1993 and is battle-tested.
Downloading and Installing GNU Stow on Linux (and macOS)
I install Stow differently based on the OS, but it’s quick. Let’s cover Linux as you asked, focusing on Ubuntu (Debian-based) and RHEL/Rocky/AlmaLinux (Red Hat-based). I’ll throw in macOS since we’re talking cross-platform.
On Ubuntu
I open my terminal and run these commands:
- Update your package list:
sudo apt update- Install Stow:
sudo apt install stow- That’s it! I verify with
stow --versionOn RHEL, Rocky Linux, or AlmaLinux
These require EPEL for extras. Here’s what I do:
- Enable EPEL:
sudo dnf install epel-release(on older versions)
sudo yum install epel-release- Update packages:
sudo dnf update- Install Stow:
sudo dnf install stowAgain, check
stow --versionto confirm.
On macOS
I use Homebrew for this—it’s my go-to package manager on Mac. If you don’t have Homebrew, install it first from brew.sh.
- Update Homebrew:
brew update- Install Stow:
brew install stow
MacPorts works too: sudo port install stow. I’ve switched machines effortlessly this way.
Pro tip: If you’re on a fresh install, I always add Perl if needed (Stow is Perl-based), but it’s usually included.
Configuring and Setting Up GNU Stow
Once installed, I set up my dotfiles repository. Here’s how I do it, and you follow along:
- Create a directory for your dotfiles. I call mine
~/dotfilesand cd into it:
mkdir ~/dotfiles && cd ~/dotfiles- For each tool or config, make a subdirectory like a “package.” For example, I create bash/ for Bash stuff:
mkdir bash- Move your dotfiles into these subdirs, removing the dot prefix temporarily. I put my .
bashrcinto bash/ as bashrc (Stow will handle the dot).- Example:
mv ~/.bashrc ~/dotfiles/bash/bashrc- From
~/dotfiles, “stow” the package:
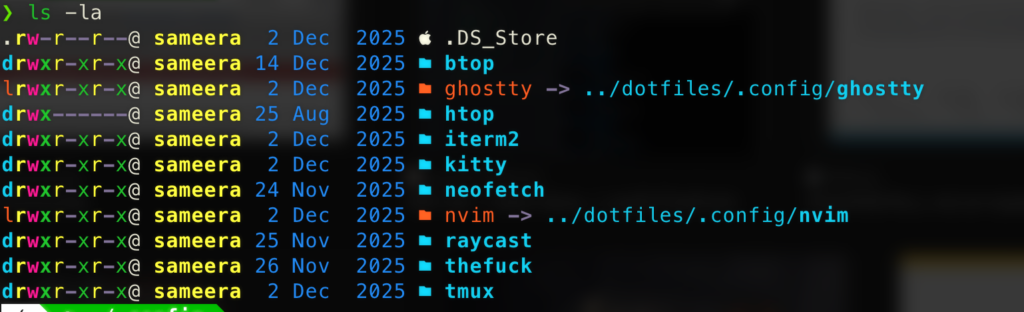
stow bash- This creates a symlink:
~/dotfiles/bash/bashrc → ~/.bashrc. - Boom, your home stays clean!
I repeat for other tools:
mkdir vim && mv ~/.vimrc ~/dotfiles/vim/vimrc && stow vim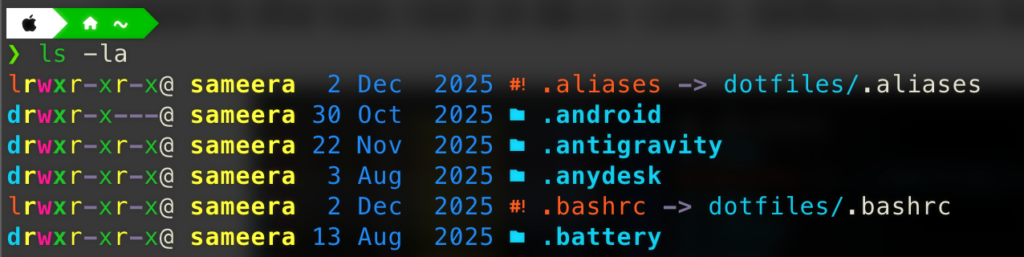
If conflicts arise (like existing files), I use –no to simulate: stow –no bash. Fix issues, then stow for real.
Options GNU Stow Offers for Managing Dotfiles
Stow packs powerful options that I use daily. Here’s what I leverage:
- –target=DIR: I specify a custom target instead of home, like stow –target=/etc for system configs (with sudo).
- –adopt: If a file already exists in the target, Stow adopts it into your repo. I use this when migrating old setups: stow –adopt bash.
- –restow: I refresh all symlinks with stow –restow * after big changes.
- –delete: To uninstall a package, stow -D bash removes symlinks without deleting files.
- –verbose=LEVEL: I crank up verbosity with -v 2 to see what’s happening during complex ops.
- –ignore=REGEX: I skip files like README.md in subdirs: stow –ignore=’README.*’ bash.
These keep my workflow smooth. You experiment with them—start simple, then automate with scripts.
Saving and Keeping Your Dotfiles with Git
I never lose dotfiles thanks to Git. Here’s my routine:
- In
~/dotfiles, init a repo - Add files
- Commit
- Push to a remote (I use GitHub)
git init
git add .
git commit -m "Initial dotfiles commit"
git remote add origin git@github.com:yourusername/dotfiles.git
git push -u origin main
Now, on a new machine, I clone:
git clone git@github.com:yourusername/dotfiles.git ~/dotfiles && cd ~/dotfiles && stow *I add a .gitignore for temp files. For secrets (like API keys), I use templates or tools like pass. Version your changes— git commit often!
Removing stowed files:
If you want to, for whatever reason, undo the actions done by executing the stow command, simply cd into the .dotfiles directory using your terminal and run this command:
deleting all symlinks
stow -D .This will clear up all the symlinks which were previously created by the program.
Always
cp -r ~/.important-dotfile ~/backupbefore stowing or removing.
Extra Tips I’ve Learned the Hard Way
- Cross-OS Compatibility: I use conditionals in files, like if [[ “$OSTYPE” == “darwin”* ]]; then … for macOS-specific bits.
- Backup First: Always
cp -r ~/.important-dotfile ~/backupbefore stowing. - Automation: I script installs in a
install.sh: stow bash vim gitfor one-command setups. - Community Repos: Check my GitHub or others for inspiration—I forked a few to start.
- Alternatives if Stow Isn’t Enough: If you outgrow it, I recommend combining with Ansible for multi-machine deploys.
There you have it, folks. I’ve saved countless hours with this setup, and I urge you to implement it today. Clone my dotfiles if you want a head start (just kidding, make your own!). Drop comments below—what’s your dotfiles strategy? Let’s geek out.